As the nights grow longer and jack-o'-lanterns begin to dot doorsteps, the annual ritual of pumpkin carving re-emerges. Beyond the simple childhood activity, a deeper craft awaits those looking to create truly spectacular and lasting displays. For the detail-oriented enthusiast, uncovering the secrets to a carving that endures through the witching hour requires more than just a knife; it demands understanding the pumpkin itself, from selection to preservation.
Why Does My Pumpkin Rot So Quickly?
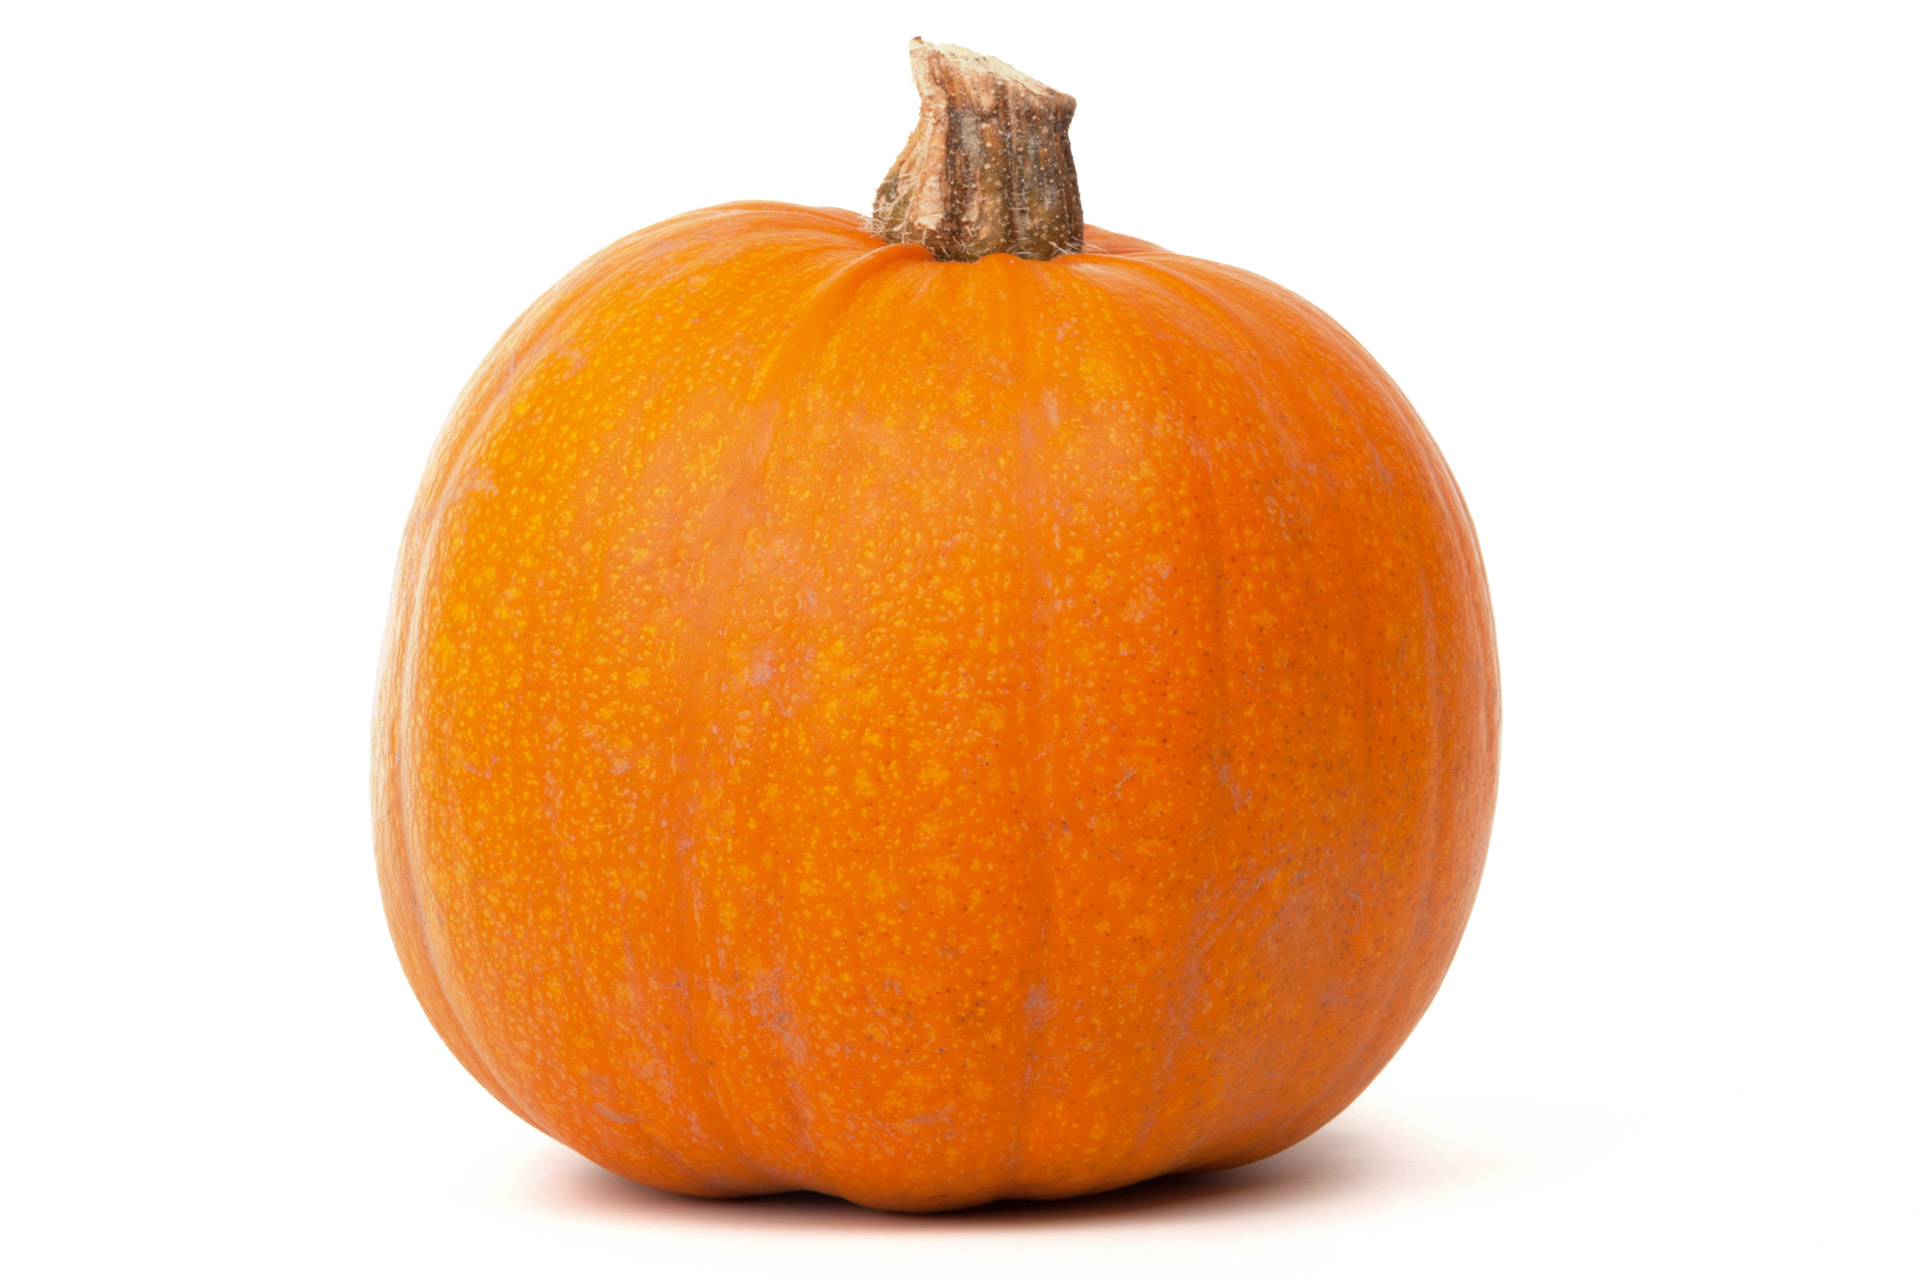
The primary pain point for any carver is premature decay. The solution begins before you make a single cut. Not all pumpkins are created equal for carving. A dense, thick-walled variety with a firm base is your best defense against rapid shriveling. Look for a pumpkin with a sturdy, intact stem, as this is a key indicator of freshness. The ideal carving pumpkin should feel heavy for its size and have no soft spots or bruises, which are entry points for mold and bacteria.

What's the First Step After Bringing My Pumpkin Home?
Contrary to popular practice, soaking your pumpkin in a bleach solution immediately is a common misstep that can actually accelerate rotting from the inside. Instead, start with a thorough surface cleaning. Wipe down the entire exterior with a solution of one part white vinegar to ten parts water. This disinfects the surface without over-saturating the rind. Once clean, allow it to dry completely. This simple step creates a less hospitable environment for microbes that cause decay, buying you precious extra days of display.
How Do I Cut for Longevity, Not Just Looks?
The way you carve dramatically impacts the pumpkin's lifespan. A key secret is to avoid the traditional top-cut lid. Instead, carve your opening from the bottom. This creates a stable base and preserves the structural integrity of the pumpkin's "shoulders." Furthermore, the thicker bottom wall is less prone to curling and collapsing as it dries. Use a thin, serrated knife or a pumpkin-specific saw for clean cuts. Rough, torn edges from dull knives create more surface area for moisture loss and decay to begin.
Is There a Secret to Preserving the Final Masterpiece?
Yes, and it's twofold: moisture management and internal treatment. After scooping out the seeds and pulp—a task best done with an ice cream scoop for efficiency—lightly rub the exposed interior surfaces with petroleum jelly. This acts as a sealant. Externally, you can apply a commercial pumpkin preservative spray or a homemade mixture of mineral oil, a few drops of peppermint oil (which also deters pests), and water in a spray bottle. A light daily misting, followed by blotting, keeps the skin supple and wards off wrinkling. When not on display, keep your creation in a cool, shaded area, not in direct sunlight or near heat sources.
What Are the Implications for My Witching Hour Display?
By applying these research-backed secrets, the implications for your autumn display are significant. You move from a disposable decoration to a durable piece of ephemeral art that can withstand the elements from the first frost through Halloween night. The methodical approach—selecting the right specimen, employing strategic cuts, and consistent after-care—ensures that your effort results in a jack-o'-lantern that remains vivid, firm, and menacingly cheerful when the trick-or-treaters arrive. It transforms a seasonal chore into a satisfying craft with a reliably brilliant outcome.
Pumpkin Template
:strip_icc()/carved-pumpkin-silly-smiling-face-8b8de000-9dd884da861d4c8291fff53b2b160774.jpg)
Pumpkin Template
Cold Hollow Cider Mill | Fresh Vermont Apple Cider, Donuts & Farm

Cold Hollow Cider Mill | Fresh Vermont Apple Cider, Donuts & Farm ...
23 Amazing Benefits Of Squash For Skin, Hair, And Health
23 Amazing Benefits Of Squash For Skin, Hair, And Health